Mastering Glaze Dipping: A Hardcore Guide to Doubling the Added Value of Tableware Exports
What Is Dip Glazing? Dip glazing is a core ceramic manufacturing process in which bisque-fired ware is fully submerged in a liquid glaze bath, leveraging the body’s natural porosity to achieve a uniform, all-over coating. In tableware production, it represents both a time-honored craft tradition and the operational backbone of large-scale export fulfillment.
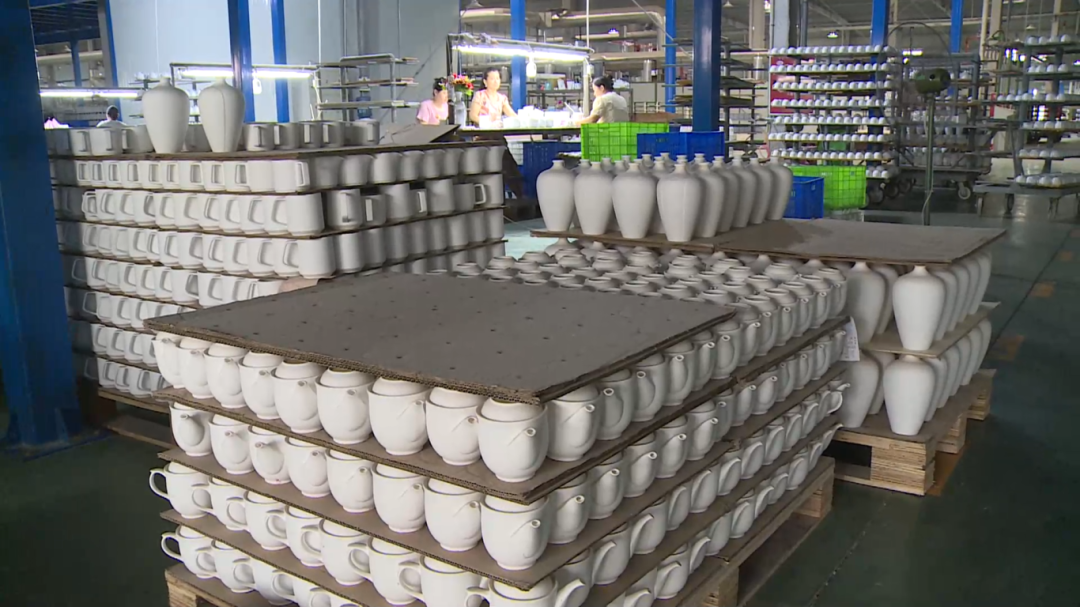
Often regarded as the gold standard for tableware surface finishing, dip glazing works on a straightforward physical principle — capillary action within the bisque body draws glaze slip rapidly and evenly into every surface. This method delivers 360-degree coverage across interior walls, exterior surfaces, and contoured edges with no blind spots, at throughput speeds that far exceed traditional hand-brushing or spot-application techniques. Today, more than 70% of output from mid-to-large tableware factories worldwide depends on this process, making it the cornerstone of standardized, high-efficiency production.
Dip Glazing vs. Spray Glazing — The Core Competitive Advantage for B2B Sourcing In tableware manufacturing, dip glazing outperforms spray glazing primarily because of its superior adaptability to complex, irregular shapes. When spray glazing bowls, cups, or deep-profile forms, shadow zones frequently cause missed coverage or uneven thickness. Dip glazing resolves this in a single pass, producing consistent interior and exterior glaze layers — typically held within 0.25–0.35 mm.
Material utilization is the financial differentiator between the two methods. Spray glazing loses upwards of 30% of raw material to airborne overspray, while dip glazing paired with a modern recirculation system can push material utilization above 70%. For B2B suppliers focused on margin, dip glazing translates directly to lower input costs and more consistent finished-product quality.
Why Leading Global Tableware Brands Prefer Dip Glazing Premium foodservice supply chain brands — including custom suppliers to Michelin-starred restaurants — favor dip glazing for three core reasons.
Food safety assurance — The dense, glass-like barrier formed by dip glazing fully encapsulates the clay body, preventing leaching of lead, cadmium, or other heavy metals, and meeting the strict requirements of EU regulations and U.S. FDA standards.
Superior durability — The smooth, high-flexural-strength glaze surface resists oil absorption and buildup even under sustained commercial dishwashing cycles.
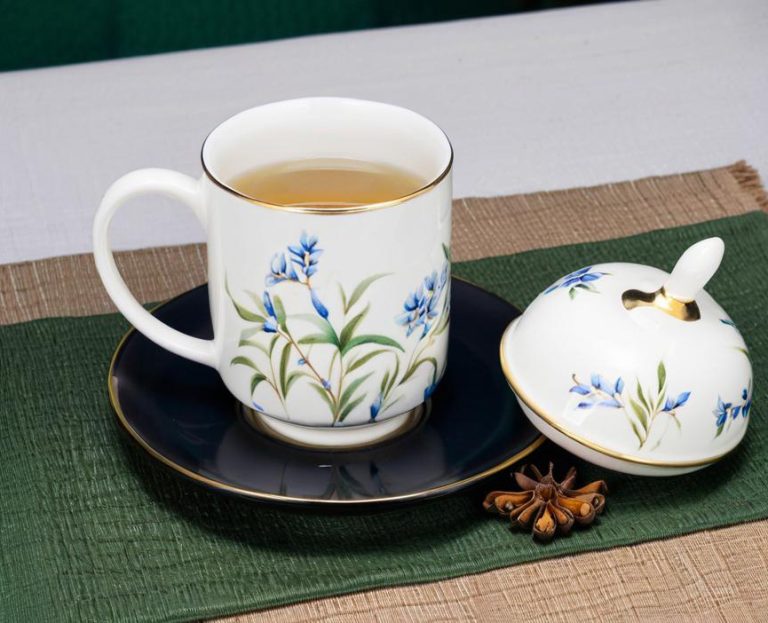
Color fidelity — Compared to the granular texture that spray glazing can produce, dip glazing delivers deeper, more consistent color uniformity. In bone china and fine stoneware exports specifically, this translates to a finished-goods yield improvement of 35% or more.
The Science Behind the Dip: Mastering Glaze Consistency
Viscosity and Flow Management — Achieving Self-Leveling Performance Glaze viscosity is the single most critical variable in dip glazing. If viscosity is too high, poor flowability causes surface drag marks and uneven buildup; too low, and the glaze coat is too thin to achieve full coverage after firing.
The ideal viscosity range resembles the flow of heavy cream and is typically maintained by controlling ambient temperature (68–86°F / 20–30°C) and continuous agitation. Professional facilities use a Ford Cup on a timed schedule to monitor flow rate, confirming that glaze slip self-levels promptly after the piece is withdrawn — eliminating air bubbles and surface rippling.
The Role of Specific Gravity — The Physical Benchmark for Glaze Thickness Specific gravity determines the suspended particle density of the glaze slip and directly governs final coat thickness.
Low specific gravity results in thin coverage that is prone to flaking or incomplete sintering.
High specific gravity produces overly heavy slip that can cause running or firing cracks.
On automated dip glazing lines, maintaining constant specific gravity through continuous recirculation is the key to achieving zero color variance across an entire production batch.
Using a Ceramic Hydrometer — Measuring and Controlling Glaze Slip Density Operators should insert a precision hydrometer vertically into the glaze slip and read the buoyancy scale. Measurements should be taken three to five times per shift; any deviation greater than 0.01 requires immediate correction by adding a measured quantity of purified water or concentrated slip. Advanced PLC systems now enable real-time inline monitoring with automatic parameter correction, eliminating over-reliance on the institutional knowledge of senior technicians.
Parameter Adjustments by Body Type — Specific Gravity Differences Between Earthenware and Stoneware Body porosity determines the appropriate specific gravity setting.
Earthenware — High porosity and strong water absorption call for a specific gravity of 1.3–1.4, with a slightly thinner slip to prevent over-application.
Stoneware — The denser body structure requires specific gravity in the 1.4–1.5 range to ensure adequate adhesion on a low-absorption surface.
Precise calibration at this level holds fired glaze thickness consistently around 0.3 mm, effectively eliminating the risk of crazing.
Glaze Suspending Agents — Preventing Settling and Improving Stability To prevent heavy mineral particles from settling out of suspension, adding 0.5–2% borate-based or CMC suspending agents is standard industry practice. This improves slip suspension by approximately 30%, ensuring uniform glaze even after extended downtime. Combined with closed-loop recirculation tanks and high-density filtration systems, this approach both raises surface quality and reduces waste of expensive specialty glazes by over 70%.
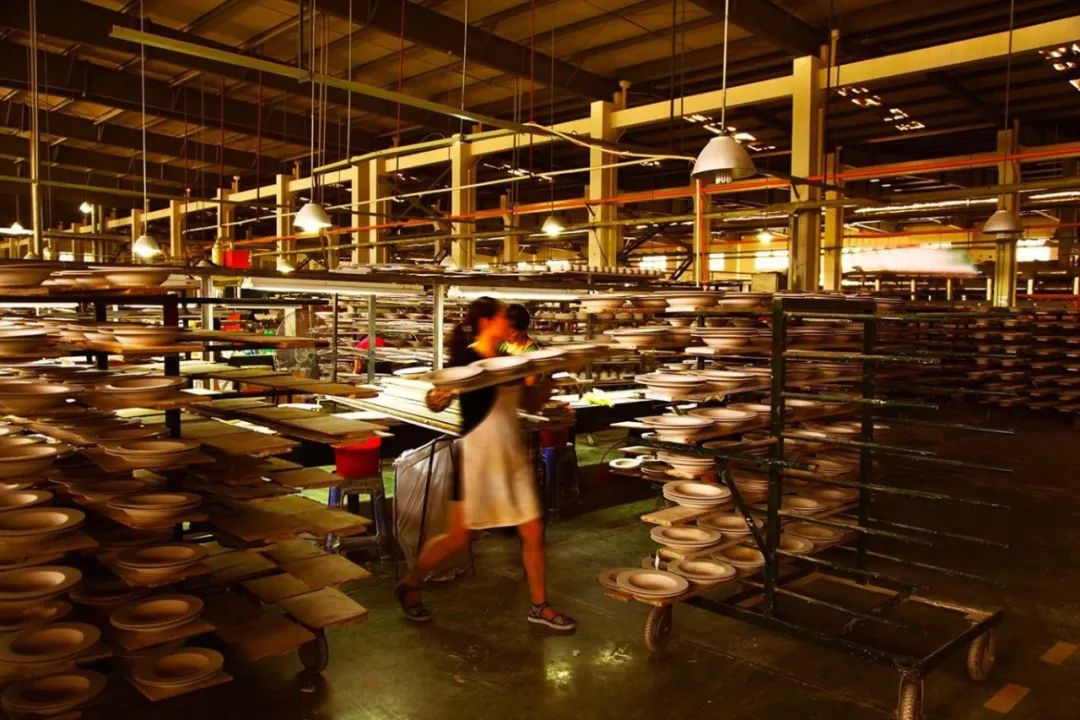
The Professional Dip Glazing Process: Step-by-Step
Pre-Dip Preparation — Deep Cleaning and Dust Removal of Bisque Ware Dust is the leading cause of pinhole defects in fired glaze. Before dipping, every piece must be thoroughly blown out with compressed air or wiped with a damp sponge to ensure surfaces are free of dust, grease, and fingerprints. This single step improves glaze adhesion by up to 20%. In the QC workflow, cleanliness inspection is the first line of defense against batch-level rejects.
Breaking Down the Perfect Dip — Balancing Angle, Speed, and Rhythm A perfect dip is not a simple plunge — it is a coordinated sequence of a 45-degree angled entry, steady vertical movement, and controlled-speed withdrawal.
Angle — Prevents air pockets from forming inside the vessel.
Speed — Automated robotic arms simulate the hand-rotation motion to ensure complete air evacuation, with a per-piece cycle time of 20–25 seconds.
For high-volume B2B operations, automated dip glazing systems can reach an output of 2,400 pieces per hour — well beyond what manual labor can sustain.
Working with Dipping Tongs — Technique and Best Practices When using dipping tongs, select a grip with the fewest possible contact points and secure the bottom rim of the piece. A quick dip paired with a slight rotational pull on withdrawal uses centrifugal force to shed excess glaze. This is a core skill operators must master during the transition from manual to automated production and significantly reduces the need for post-dip touch-up work.
Quantifying the Effect of Dwell Time on Glaze Thickness Dwell time functions as the control valve for coat thickness. A standard dwell of 3–5 seconds yields a 0.25 mm layer; exceeding 7 seconds introduces the risk of glaze running. For premium bone china, dwell time must be fine-tuned daily based on ambient humidity and body moisture content to ensure a consistent surface feel across every piece.
Post-Dip Finishing — Foot Cleaning and Edge Trimming Immediately after dipping, the foot ring and any support contact points must be wiped clean with a high-density sponge to prevent the piece from fusing to kiln shelves during firing. Excess glaze should be captured in a recovery trough, filtered, and returned to the slip tank. This lean approach reduces line-wide waste output by up to 70% and is a prerequisite for certified green factory operations.
Troubleshooting: Common Dip Glazing Defects and Solutions
Preventing Glaze Running and Tears Running glaze is typically caused by excessive slip viscosity or overly long dwell times.
Corrective action — Adjust specific gravity to approximately 1.35, increase robotic arm withdrawal speed, and ensure all foot rings are thoroughly wiped. Automated systems can achieve zero-running output by programming precise acceleration curves on withdrawal.
Eliminating Bubbles and Pinholes Pinholes generally originate from excessive body moisture content or air entrapped during slip agitation.
Corrective action — Reinforce the pre-dip drying protocol and install a degassing unit in the glaze tank. Regularly filtering out large particulate matter from the slip can directly improve finished-goods yield by 35%.
Resolving Uneven Glaze Thickness Uneven coverage is typically caused by specific gravity fluctuations or inconsistent dipping motion.
Corrective action — Establish an hourly specific gravity monitoring routine and maintain stable suspending agent concentration in the tank. An automated recirculation system keeps the slip in continuous dynamic equilibrium, delivering machine-level consistency.
Addressing Crawling and Flaking Crawling is most often caused by surface contamination on the bisque body or glaze layers exceeding 1 mm in thickness.
Corrective action — Strengthen post-bisque cleaning protocols, strictly control glaze thickness within the 0.3–0.5 mm range, and incorporate borate stabilizers into the glaze formula. At firing temperatures of 2,192°F (1,200°C), this formulation ensures the glaze bonds firmly to the clay body.
Scaling Up: Efficiency in B2B Mass Production
The Transition from Manual to Automated Dip Glazing Manual dip glazing on complex orders often carries a 40–60% defect rate. Introducing an automated dip glazing line with a recirculation system can reduce annual glaze material costs by 20–25%. For B2B operations running at 2,400 pieces per hour, automation is the core competitive advantage for meeting delivery schedules and maintaining consistent quality.
Quality Control Standards for High-Volume Orders Professional facilities conduct a 10% random inspection on every production batch across three dimensions.
Physical measurement — Laser thickness gauges verify glaze uniformity.
Colorimetric comparison — Spectrophotometers confirm ΔE values against reference standards.
Destructive testing — Thermal shock resistance and water absorption testing.
Full PLC parameter logging throughout production holds return rates below 1%.
Key Control Points for Cross-Batch Color Consistency Color consistency is the lifeline of B2B trade. It requires locked glaze chemistry formulations, constant slip specific gravity, and strict adherence to a standardized kiln temperature ramp profile of 2,192–2,552°F (1,200–1,400°C). For underglaze decoration products with zero tolerance for color deviation, special attention must be given to preventing color migration at peak firing temperatures.
Improving Delivery Efficiency and Production Scheduling for Dip-Glazed Tableware The rapid-drying characteristics of dip glazing make it exceptionally well-suited to assembly-line production. On a fully automated line, a 10,000-piece order typically moves from dipping to completed firing in just 7–10 days — cutting lead times by more than 30% compared to traditional methods and significantly improving working capital turnover.
Modern Aesthetics: Trends in Dip Glaze Effects
Why Reactive Glazes Are Winning the Modern Foodservice Market Reactive glazes develop unpredictable organic textures during high-temperature firing, making them a favorite among chain restaurant concepts. They give assembly-line products an artisanal, custom-made quality while maintaining outstanding food safety through their underglaze nature. In export trade, products featuring reactive glaze typically command a value premium of 50% or more over standard white porcelain.
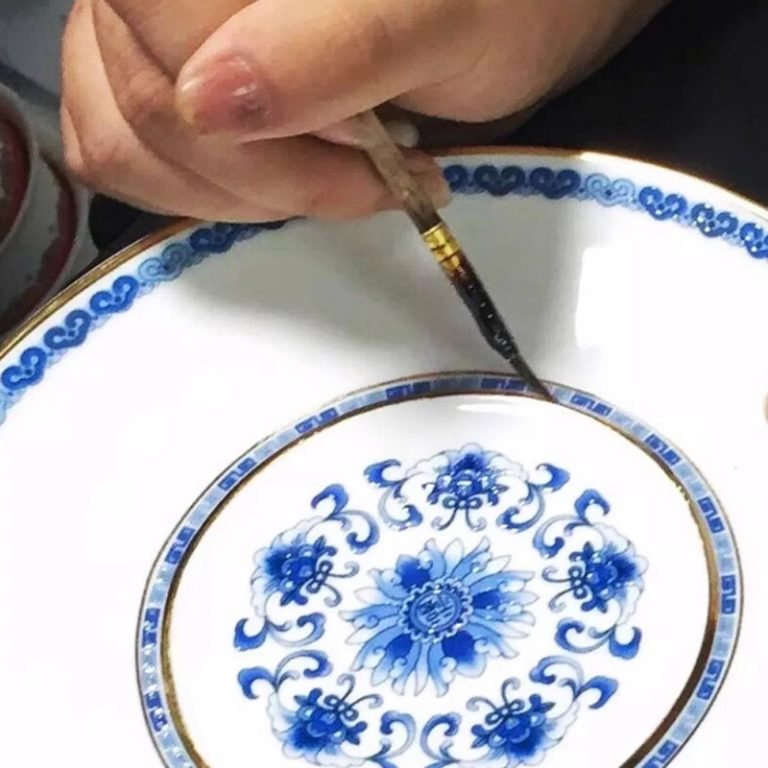
Two-Tone Dip Glazing — Creating a Premium Handcrafted Aesthetic By combining a full-body base dip in a lighter glaze followed by a partial second dip in a deeper tone — executed with a rotating robotic arm — manufacturers can produce striking fluid visual effects with a vintage, artistic character. This aesthetic has become a standard feature of mid-to-high-end tableware lines and measurably elevates market price positioning.
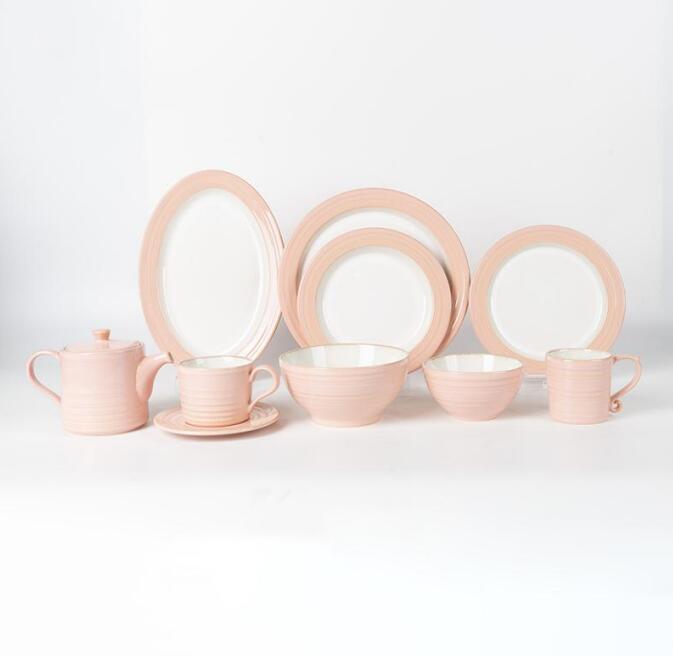
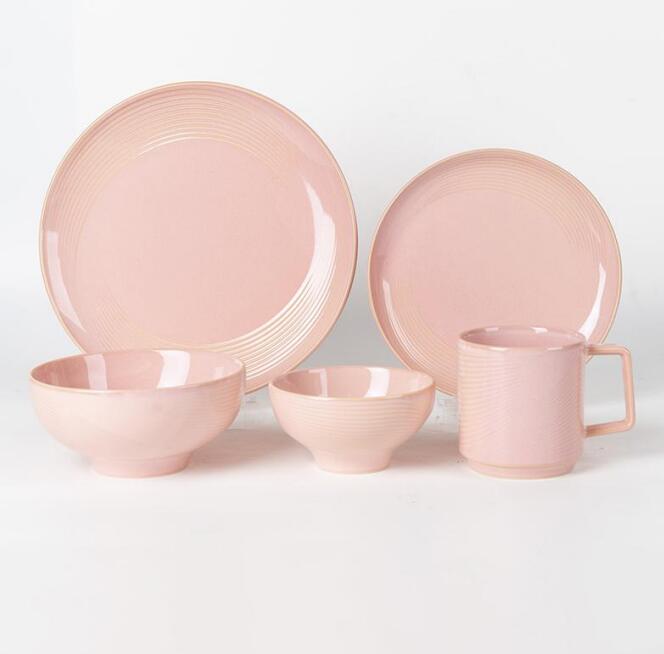
Matte vs. Glossy — Surface Strategies for Global Market Segments Matte finishes are highly popular in European markets for their contemporary aesthetic and resistance to showing fingerprints.
Glossy finishes are the dominant choice in American and Asian markets for their ease of cleaning and visual brilliance.
Regardless of the target finish, dip glazing allows precise control over the distribution of matting agents or gloss-enhancing compounds, ensuring consistent large-run quality across both styles.
Conclusion
Dip glazing is far more than a surface finishing step — it is a financial engine for reducing costs and elevating aesthetic potential. With material savings of up to 60%, adherence to the highest safety standards, and limitless creative possibilities, it positions ceramic manufacturers to capture 30% or more in export price premiums over the competition.
Why Choosing a Supplier with Advanced Process Control Capabilities Matters Suppliers lacking precise process control routinely face color-variance return rates exceeding 20%. Manufacturers equipped with automated production and a closed-loop QC system can deliver on-time, zero-risk fulfillment. Partnering with a supplier that commands advanced dip glazing technology is a decisive step toward doubling order volume and elevating brand positioning.
If you have any questions or need to custom dinnerware, please contact our Email:info@gcporcelain.com for the most thoughtful support!